Showing posts with label craft. Show all posts

December 25, 2018

Pinspiration: Popsicle Sled

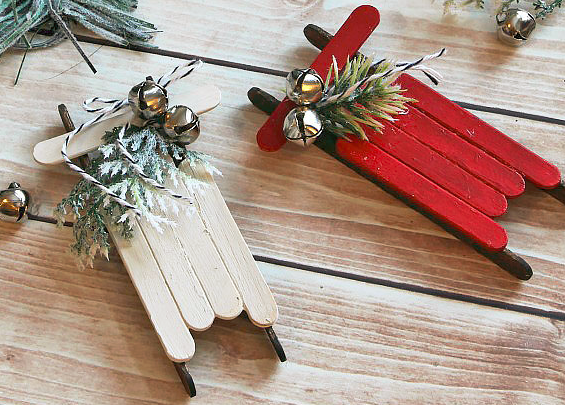
Sometimes with all the craziness of the holidays, I like simple and fast DIYs. Well, today's Pinspiration is just that: simple and fast.

Here

Here's what you'll need:
7 Popsicle sticks (5 minis and 2 regular)
twine (here) (optional)
paint (optional)
bell or greenery (here) (optional)
glue
Total Spent: $16.19


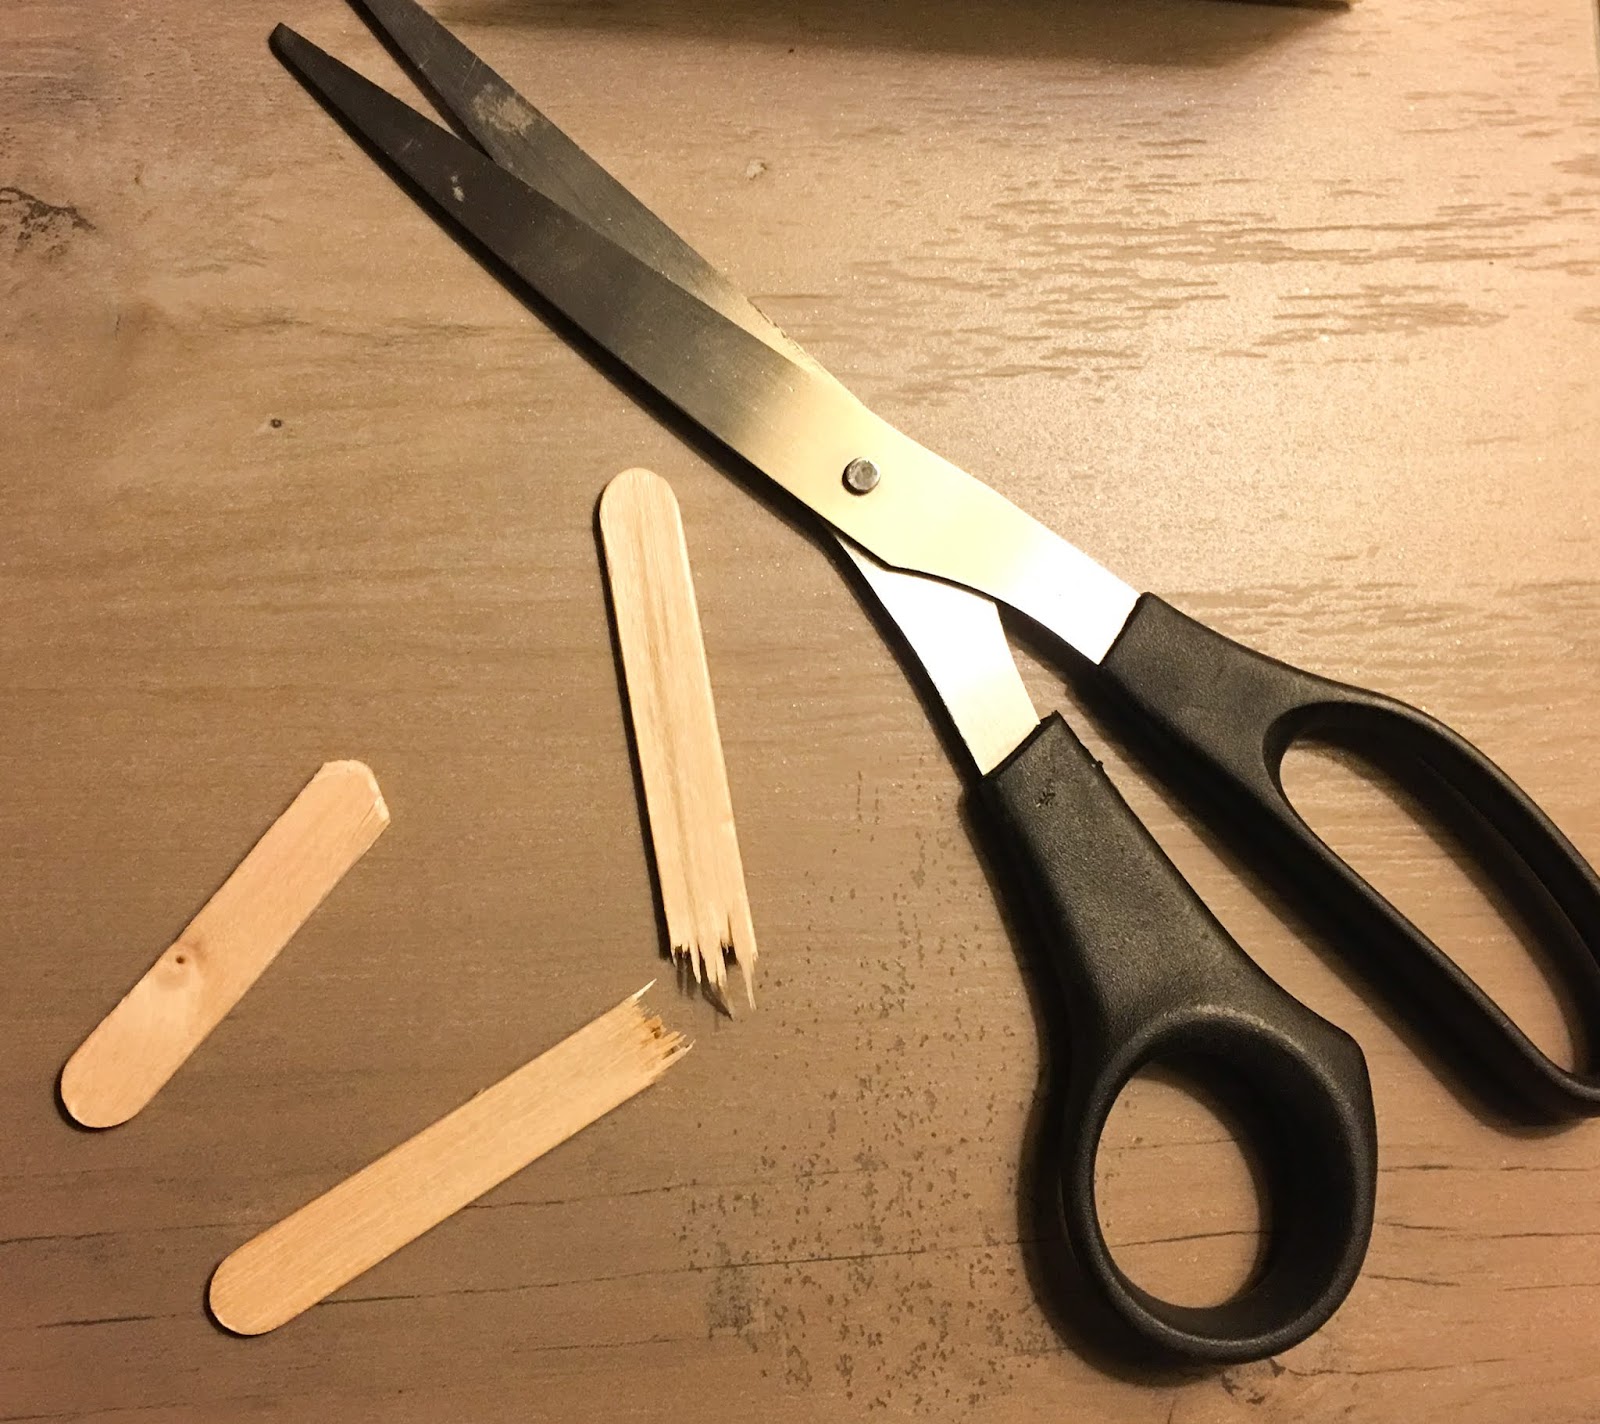
I used all regular sized Popsicle sticks for my sleds. So I started by breaking 5 of them in half. Of course that means, the broken end is a little rough. So I used scissors to round it off, then sanded it so no one would get any splinters.


Once all the pieces were cut and sanded, I painted 5 small pieces red and the 4 large pieces brown. I wanted two different colored sleds, so I left one the natural color. Once they were all dry, I glued the two middle pieces together. Then I glued the two small, outer pieces, a little lower than the center pieces. I repeated these steps on both sleds.


I took one of the larger pieces and glued it in the center of one of outer red pieces. Then I repeated this step on the other side. The two brown pieces do need to line up, so keep that in mind when gluing this side down. Again, once they were dry, I then glued the final piece on each sled. I found this to be the hardest piece to glue to the others. I left it up side down and lined up the pieces where I wanted it to sit. Then I slightly lifted each side to glue it together.


I decided not to put bells on my sleds, so I just did the greenery for decoration. I tucked the stem under the top of the sled and glued it in place for a little extra security. Then I took the twine and tied to the sled. Then I also glued the twine to the back of the sled, so I can hang them on my tree! Side note--I did the greenery then the twine. It would have been much easier to do the twine than the greenery.

And that's all! Super cute right?!


December 18, 2018

Pinspiration: Music Sheet Trees

Tis the season to have lots of Christmas trees around my home. Big, small and everything in between! It's one of my favorite items to try and make as well. There are so many fun cute ways to make a Christmas tree! So today, I'm making this one:

Here
Here's what you'll need, so you can make this too:
Sheets of Music (here or you can print an image from Google)
dowels (here or here <~currently on sale!)
Base (here or here)
Total cost: $13.77


First thing I did was draw a triangle on the back of the sheet of music. I did it on the back in case I don't cut straight or didn't trace the line straight. I'm making three trees, so I did this three times. Then I cut the triangle out.

Folding the triangles
Once the tress were cut, I folded each sheet of paper, like an accordion.


Yes, I used a thumb tack to poke the hole in each fold of the trees. Once I knew they were lined up, I used a pen to make the whole big enough for the dowel to fit.


Once the tree was on the dowel, I used hot glue to glue it to the base. Then I put a star sticker on the top and some mini presents under the tree!


November 27, 2018

Pinspiration: Fall Floral Arrangement

Today's Pinspiration is something I didn't think I'd try to make until I had a house. I always imagined cute little flower boxes at all the windows of my future home. But until recently, I never thought about making a small faux flower arrangement for my coffee table or for various holidays.But when I saw this, I was inspired.

Here


Here's what you'll need:
3-5 types of faux flowers (depending on the size of your arrangement)
1-2 types of "fillers"
A vase or container to display the arrangement in
1 square or rectangle of floral foam (here or here)
hot glue
wire cutters


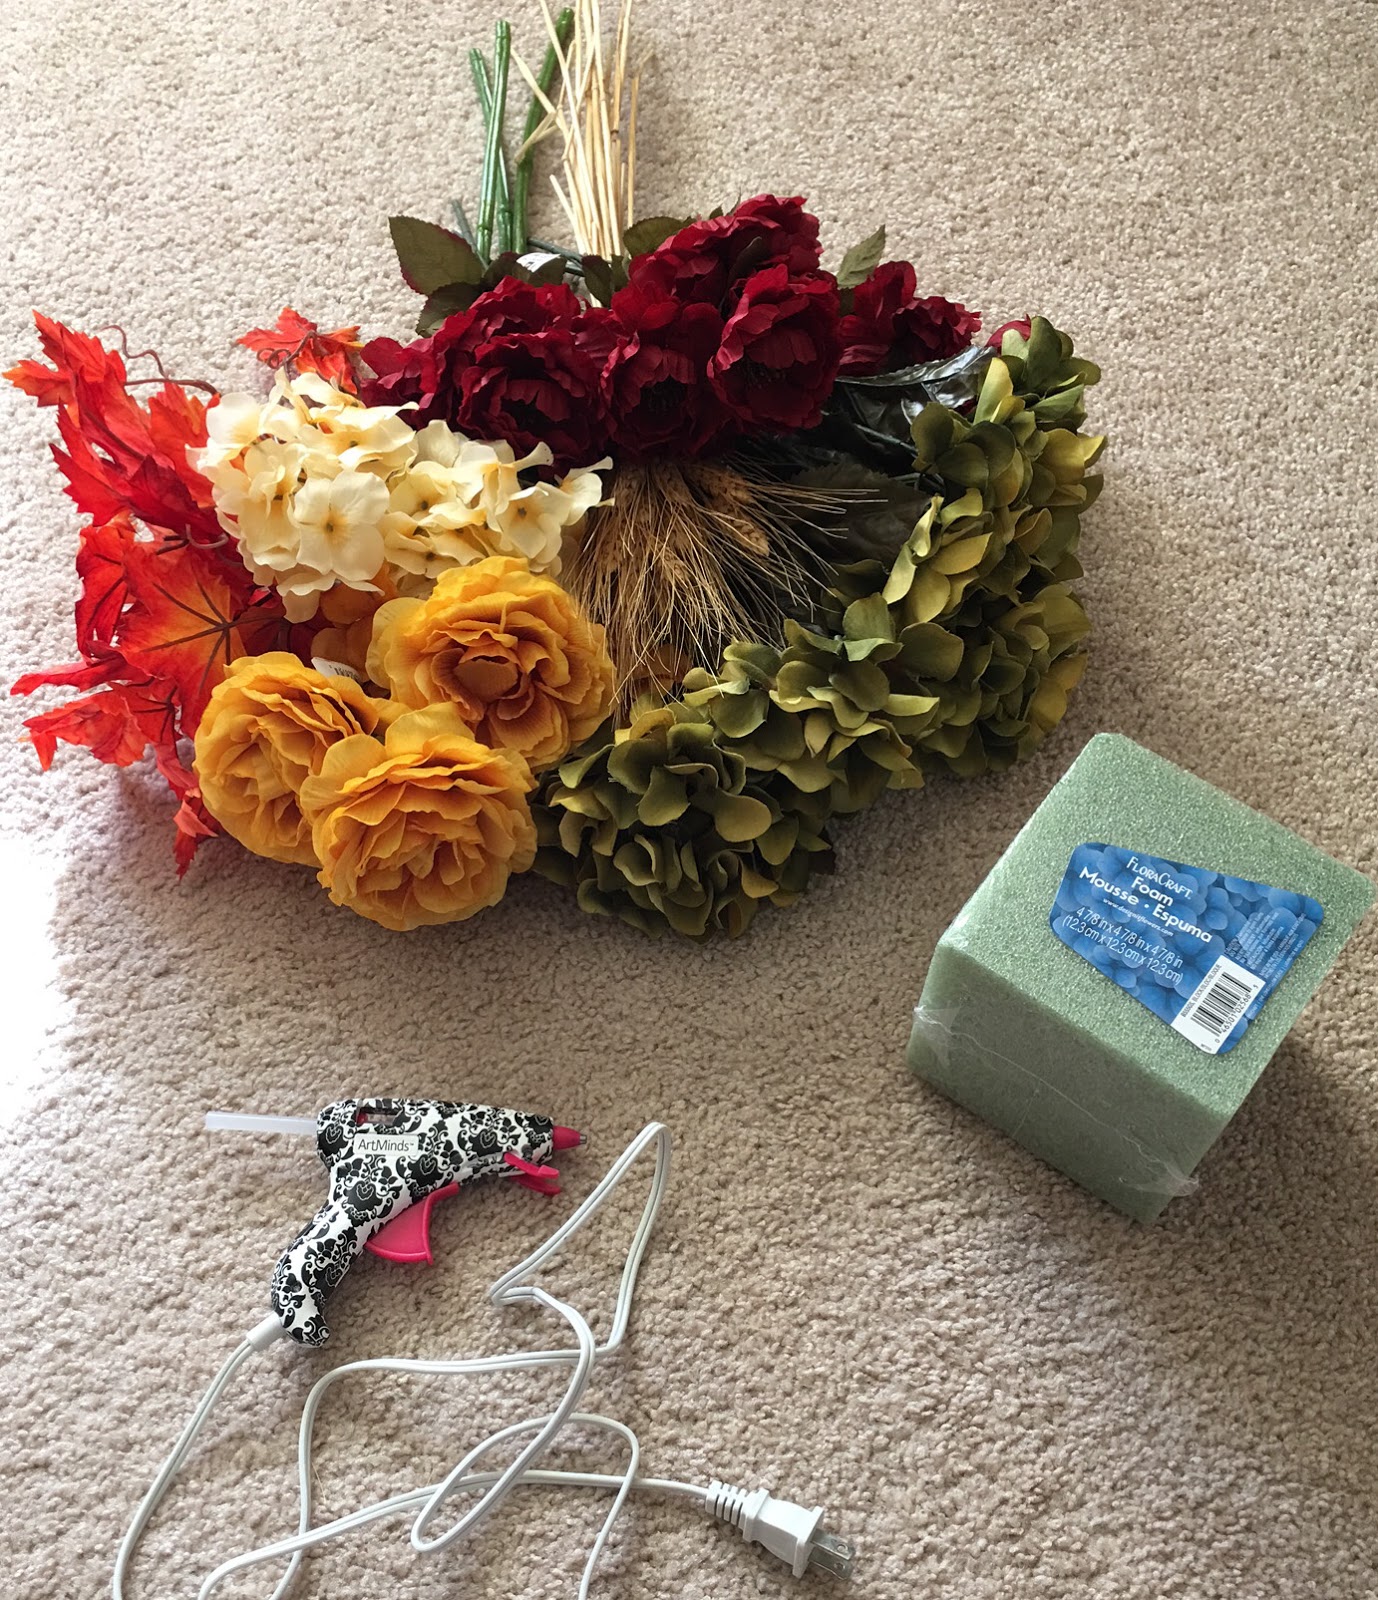
As you can tell from the Pinspiration, they used real flowers. But I wanted mine to last longer than a few weeks, so I went with faux flowers. In my picture, you can see I bought a TON of faux flowers. In reality, due to the size of the floral foam I ended up buying, I would have been fine with one stem of each color/style.

I started with the green flower cluster, right in the center of the square. Since it was larger, I knew I wasn't going to use more than one of these. Then I put four red flowers in the corners of the square, followed by filling in the tops and sides with the four yellow/white flowers. Lastly I took two stems of the faux leaves and put them in the opposite corners.


To secure them, after placing them in the spots I knew I wanted them, I took them back out and then hot glued them in. I got this container from an Edible Arrangement and thought it would be the perfect container. It was longer than the square floral foam I used, so I filled the sides with some pine cones to add to the fall feel. Great for center pieces or regular fall decor. :)


November 20, 2018

Pinspiration: Thankful

Today's Pinspiration, I'm really excited about. I find most Thanksgiving decorations are the same, and pretty boring. Naturally, I want to find something a little different. Since the day is all about eating, football, family/friends and what you're thankful for, the decorations are a bit limiting. So when planning what DIYs I wanted to do this month, I found today's inspiration and it was too cute to pass up.

Here

Here's what you'll need:
Wooden Embroidery Oval (here or here)
Faux Flowers & Leaves (the color and size are up to you)
Pine Plaque (herehere or here)
The word "Thankful" (here, here or here)
Paint or stain for the plaque and/or letters
Floral Wire (here)


Since I knew wrapping the flowers and leaves to the wooden embroidery oval would take a while, I started by painting the word "thankful" so it would have time to dry. I ended up painting the letters, but leaving the plank I put them on plain. The plank tied back to the same color as the oval, which I thought looked nice as is. I used a different plank than what is pictured, but I linked one similar above.

If you follow this link to the Pinspiration, they used separate flowers and leaves. I bought the ones I used together, for ease and one less step. Regardless of what style you went with, cut the stems so they end right about the bottom of embroidery oval. Then I took the floral wire and wrapped it around the stems and embroidery oval, to hold them together. I tried to pull it as tight as I could, so nothing moved around. Then I used hot glue on the ends of the wire to secure into place. I also used the hot glue on any stems that looked like they weren't held tightly by the wire.


While this hot glue was drying, I hot glued the "Thankful" sign to the plank of wood. Then, once that was dry, I hot glued the wood plank to the embroidery ring. Because of the flowers, the plank only touched the far left and far right side, but it's enough to hold it altogether!

October 16, 2018

Pinspiration: Ghost Bells

Darlings, Halloween season is officially here! The Pinspirations I have planned this month are all pretty simple (even more than normal, can you believe it?). After how busy I was this summer and seeing how little time I actually had, I knew I had to choose fast, cute and fun DIYs for the fall to get me back into them. While, yes, the wheat bundle did take a while, the next few will be quick and cute. Cuz who really has a lot of time?

The original post no longer exists, but here's the blog it's from

Here's what you'll need for today's Pinspo:
Wedding Tissue Bells (here or here)
White Tulle (here or here)
Either black felt or construction paper (herehere or here)
Glue

I first took out the my bells and opened them. I linked the bells above, but the taller funky one I actually got at Ikea a few years ago. I ended up not needing them for what I originally bought them for, so I figured why not make them into cute ghosts too?


I originally also planned on using tulle over my ghosts to make them look like the the Pinspo, but changed my mind last minute and decided not to use the tulle. This decision made the project time as a whole drop significantly.


I cut tear drop and oval shapes in the black felt. I have three ghosts in total, so I cut enough for two eyes and a mouth each. Then I took a hot glue gun and glued them on. And that's all. I thought in order to get some to lean like the Pinspiration, I 'd have to cut some of the bell. But because it's a bell, the center is a little bit longer than the rest. Causing it the lean naturally. Extra level of spooky and cute!

Don't they look like a group of friends leaning in for this picture?


September 04, 2018

Pinspiration: Football Field Coasters

Football season is finally back, and Ben and I could not be more excited. We love the Patriots in our house, but will watch all football equally. A few years ago, after one of our Superbowl wins (ok yes, totally bragging a little here), I found this adorable football field coasters. It was right after the Superbowl, so it was a little late to make them. And when football season came back that fall, I had  forgotten about it.

Well after going back for ideas for the Fall, I found this an thought it would be the perfect time to make it!

Inspo found here

Here's what you'll need:
Squares of terf (here)
White paint

I ended up going to Lowes to see what size artificial terf pieces were sold in. I was prepared to have to buy more than I wanted or needed, because I assumed they would be larger pack size. When I went in, there was a section in the flooring of small samples, in case you wanted to take a few home to compare before committing and buying a lot of. I was very excited about this, because they were the exact size I needed! I can't promise all Lowes have this particular flooring available in samples, but it doesn't hurt to ask.

I originally planned on using paper for the numbers, but changed my mind

A few pieces weren't completely straight, so I used scissors to cut off the extra. Then I painted the lines from the field. While the paint was drying, I realized it would be just as dark to paint the numbers. So that's what I did. This way it was all one level, since ya know...it's a coaster, to hold drinks. I think this is a great way to kick off Football season!


August 07, 2018

Pinspiration: Pineapple Bookends

B and I are totally the people that have a bookshelf actually filled with books. And as our interests continue to grow, so will our library. I can't be the only one to fantasize over the library in Beauty and the Beast, right? Well, at this point, some books, and a few notebooks, have made their way onto my desk and I need a way to help them stand without falling. So I figured why not make a cute bookend to help support them?
Pinspiration found here
Here's what you'll need:
4 pieces of wood (I used these)
2 heavy pineapples (I found two at Home Goods, not out of stock)
Paint (optional)


The pineapples I found are actually for your yard. Which is why they were grey, I'm pretty sure they're made of cement because they're SO heavy. I don't want to keep that grey, so I just painted them white. The top was already gold, so I added a little glitter to it. I painted the wood pieces white and added the gold glitter to keep it consistent.


Once all the paint and glitter dried, I glued the two pieces of wood together. Then I glued the pineapple to the bottom piece of wood. So cute! 

July 10, 2018

Pinspiration: Pom Bag

Pom Pom bags are really trendy this summer. You can literally find them everywhere! Even in Michaels! I don't normally try to make any clothes or accessories, but when I saw the supplies available, I thought why not? I did, however, cheat a little, with some pre-built parts...baby steps right?

You can buy these here

Here's what you'll need:
Straw bag--style up to you
Pom-poms--colors and size up to you
Hot glue


As I mentioned I found this plain straw bucket bag. I'd been interested in getting a bag this style in the first place. And I've been looking to get a straw bag, so to find both styles in one bag, double yes! And since I found pre-made pom-poms too, all I had to do was figure out how to attach them. I can't sew, so there had to be another way. And there is, a way simpler way. I literally just lined up the three pom-poms and hot glued them on. Easy-peasy! And if the poms start to fall off a little, it's an easy fix with a little dab of hot glue. So simple and so cute!


Voila!