I love the way a midi-pleated skirt looks. It's very feminine and classic, and there are a ton of ways to make it look very modern. Since I'm not super tall, I also try to keep in mind what shoes I'm wearing. Which is why pairing it with these sandal heels (yes, even in the winter) is my favorite option. To be totally honest, I will probably only wear this for holiday parties, and don't plan on being outside longer than it would take me to get from my car to back inside.
I love to wear this skirt with this lace crop top. Since it's a gold, sparkly skirt, why not get super dressed up in it? I definitely feel fancy! :) To finish off my look, I've added this statement necklace and dangle earring (I know, not something I do very often!).
Such a cute outfit to bring in the New Year! I hope you and yours have a happy and safe New Year!
Showing posts with label Christmas. Show all posts
December 31, 2018
December 25, 2018
Pinspiration: Popsicle Sled
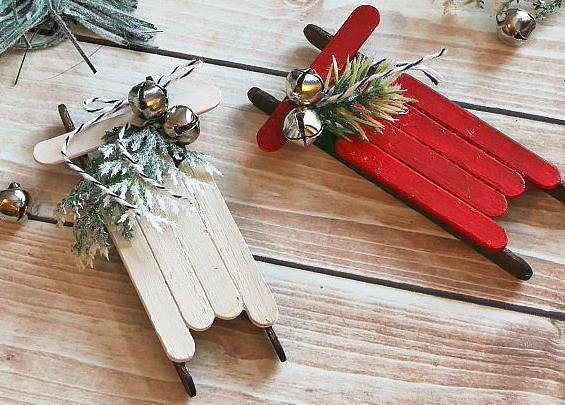
Sometimes with all the craziness of the holidays, I like simple and fast DIYs. Well, today's Pinspiration is just that: simple and fast.
| Here |
Here's what you'll need:
twine (here) (optional)
paint (optional)
bell or greenery (here) (optional)
glue
Total Spent: $16.19
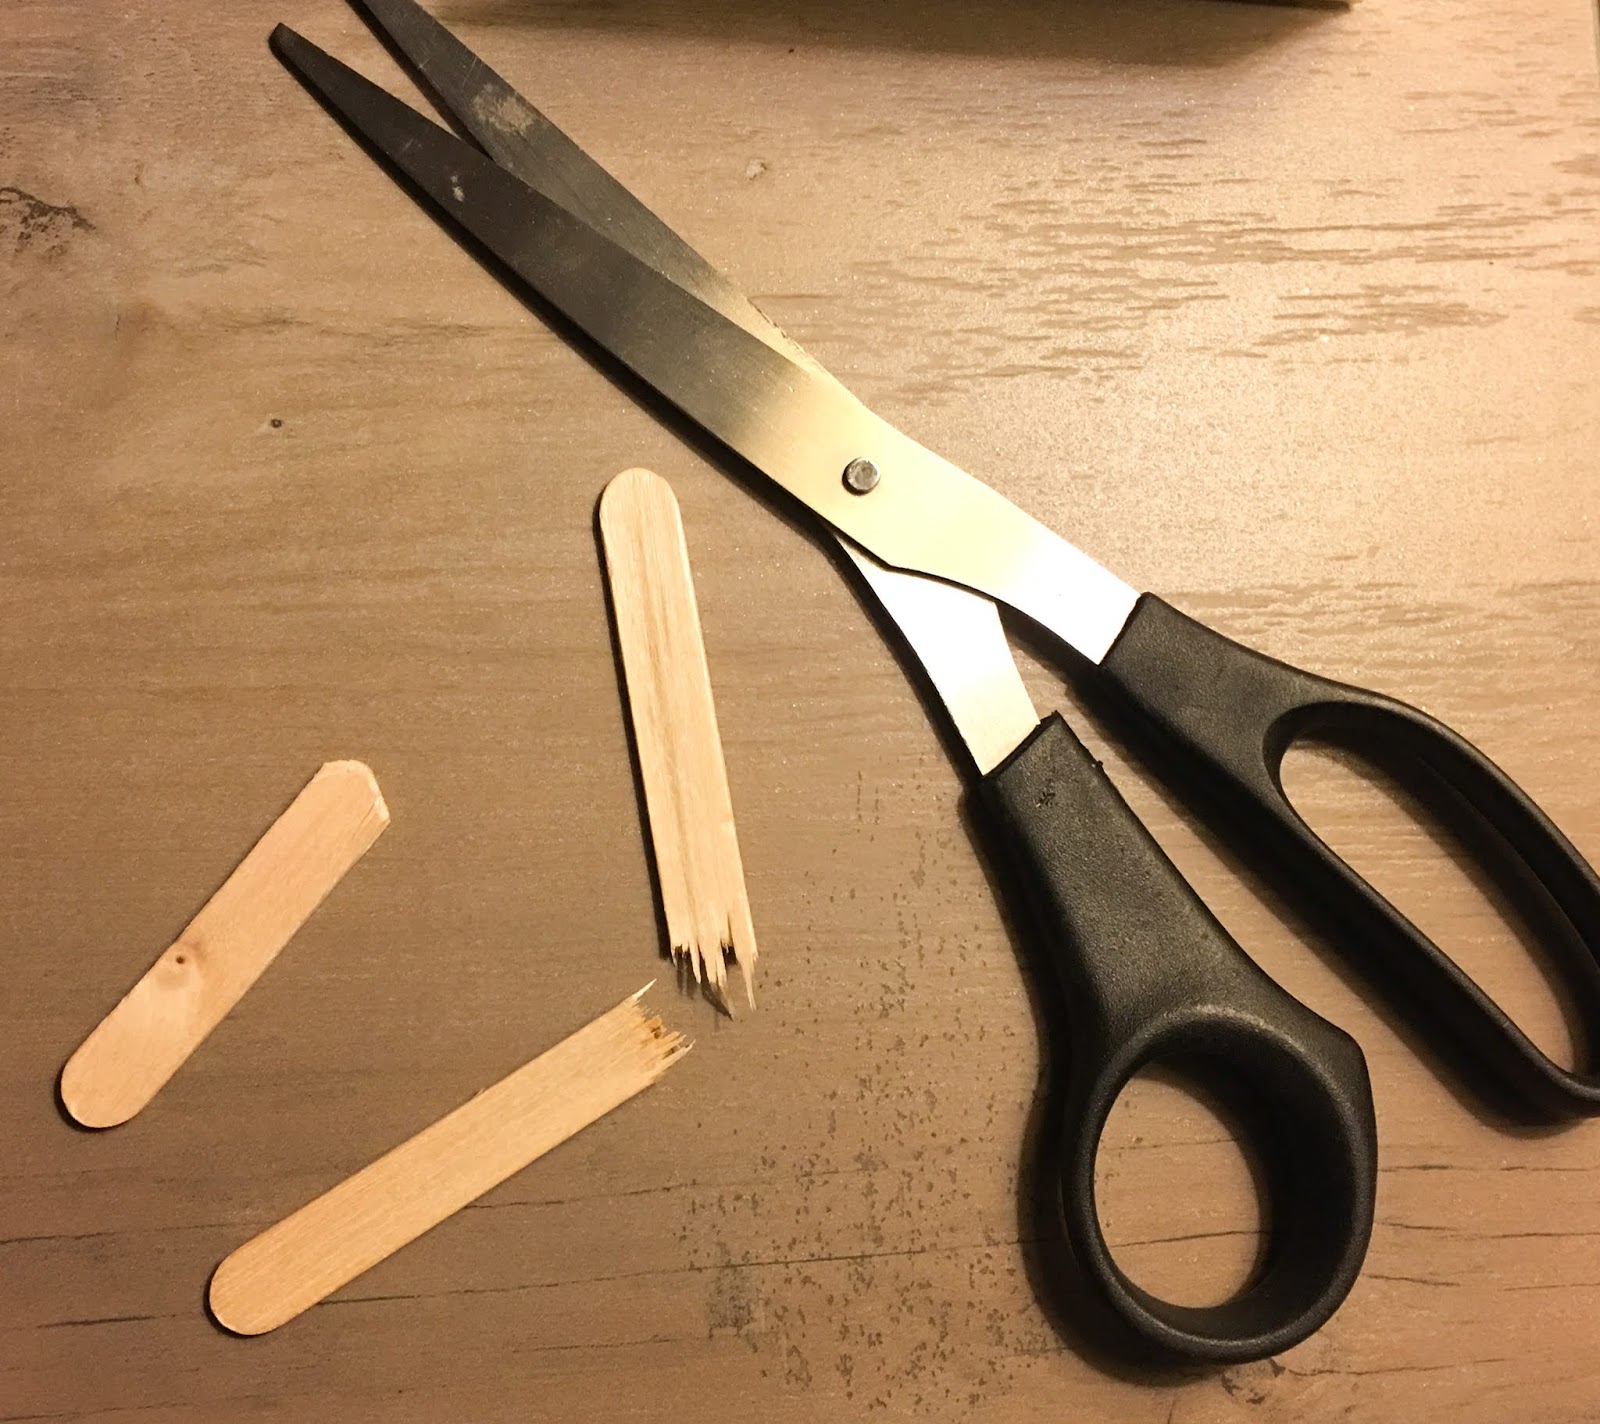
I used all regular sized Popsicle sticks for my sleds. So I started by breaking 5 of them in half. Of course that means, the broken end is a little rough. So I used scissors to round it off, then sanded it so no one would get any splinters.
Once all the pieces were cut and sanded, I painted 5 small pieces red and the 4 large pieces brown. I wanted two different colored sleds, so I left one the natural color. Once they were all dry, I glued the two middle pieces together. Then I glued the two small, outer pieces, a little lower than the center pieces. I repeated these steps on both sleds.
I took one of the larger pieces and glued it in the center of one of outer red pieces. Then I repeated this step on the other side. The two brown pieces do need to line up, so keep that in mind when gluing this side down. Again, once they were dry, I then glued the final piece on each sled. I found this to be the hardest piece to glue to the others. I left it up side down and lined up the pieces where I wanted it to sit. Then I slightly lifted each side to glue it together.
I decided not to put bells on my sleds, so I just did the greenery for decoration. I tucked the stem under the top of the sled and glued it in place for a little extra security. Then I took the twine and tied to the sled. Then I also glued the twine to the back of the sled, so I can hang them on my tree! Side note--I did the greenery then the twine. It would have been much easier to do the twine than the greenery.
And that's all! Super cute right?!
Total Spent: $16.19
I used all regular sized Popsicle sticks for my sleds. So I started by breaking 5 of them in half. Of course that means, the broken end is a little rough. So I used scissors to round it off, then sanded it so no one would get any splinters.
Once all the pieces were cut and sanded, I painted 5 small pieces red and the 4 large pieces brown. I wanted two different colored sleds, so I left one the natural color. Once they were all dry, I glued the two middle pieces together. Then I glued the two small, outer pieces, a little lower than the center pieces. I repeated these steps on both sleds.
I took one of the larger pieces and glued it in the center of one of outer red pieces. Then I repeated this step on the other side. The two brown pieces do need to line up, so keep that in mind when gluing this side down. Again, once they were dry, I then glued the final piece on each sled. I found this to be the hardest piece to glue to the others. I left it up side down and lined up the pieces where I wanted it to sit. Then I slightly lifted each side to glue it together.
I decided not to put bells on my sleds, so I just did the greenery for decoration. I tucked the stem under the top of the sled and glued it in place for a little extra security. Then I took the twine and tied to the sled. Then I also glued the twine to the back of the sled, so I can hang them on my tree! Side note--I did the greenery then the twine. It would have been much easier to do the twine than the greenery.
And that's all! Super cute right?!
December 24, 2018
Green Velvet Dress
I'm so excited velvet started coming back last year! I remember all the velvet dresses I wore as a little girl, and I totally miss that. They were so soft, and 100% '90s lol. Last year, I found this dress and I definitely squealed a tiny bit when I found it.
Since it's a shift dress, there really isn't any shape to it. I debated wearing a belt with it, and maybe I will in the future. But for today, since the dress doesn't have sleeves, I decided to wear this tweed cropped jacket.
Then I added these black booties and a statement necklace to finish off the look! So festive and fun!
Since it's a shift dress, there really isn't any shape to it. I debated wearing a belt with it, and maybe I will in the future. But for today, since the dress doesn't have sleeves, I decided to wear this tweed cropped jacket.
Then I added these black booties and a statement necklace to finish off the look! So festive and fun!
December 18, 2018
Pinspiration: Music Sheet Trees
Tis the season to have lots of Christmas trees around my home. Big, small and everything in between! It's one of my favorite items to try and make as well. There are so many fun cute ways to make a Christmas tree! So today, I'm making this one:
Here's what you'll need, so you can make this too:
Once the tress were cut, I folded each sheet of paper, like an accordion.
Yes, I used a thumb tack to poke the hole in each fold of the trees. Once I knew they were lined up, I used a pen to make the whole big enough for the dowel to fit.
Once the tree was on the dowel, I used hot glue to glue it to the base. Then I put a star sticker on the top and some mini presents under the tree!
![]() |
| Here |
Sheets of Music (here or you can print an image from Google)
First thing I did was draw a triangle on the back of the sheet of music. I did it on the back in case I don't cut straight or didn't trace the line straight. I'm making three trees, so I did this three times. Then I cut the triangle out.
![]() |
| Folding the triangles |
Yes, I used a thumb tack to poke the hole in each fold of the trees. Once I knew they were lined up, I used a pen to make the whole big enough for the dowel to fit.
Once the tree was on the dowel, I used hot glue to glue it to the base. Then I put a star sticker on the top and some mini presents under the tree!
Subscribe to:
Posts (Atom)